3D Measuring & Report
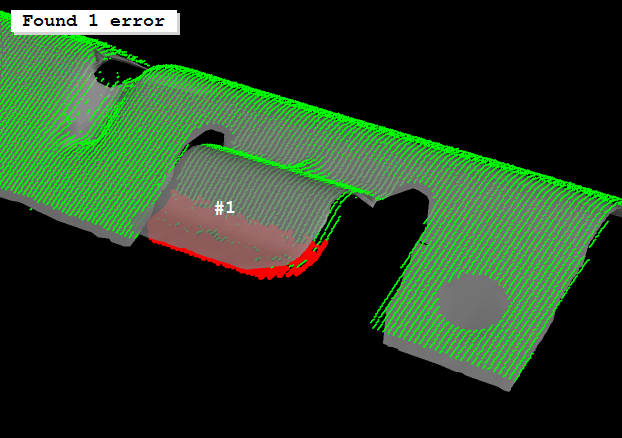
Outstanding algorithms of GTC products reconstruct the disparity or distance images or 3D coordinates of surfaces using many different methods such as binocular, multi-view and photometric stereo, sheet of light, and depth from focus. You can also determine the 3D pose of circles and rectangles easily with only one camera. The segmentation and fitting of 3D primitives allows accurate measurement of, e.g., cylinders, spheres, and planes.
| |
  |
Deep learning helps to detect defects
Inspection of electrical components
 |
|
Methods and techniquesSurface inspection |
Machine vision looks like this: A five-megapixel camera captures an image from above for each component. Global Context Anomaly Detection is used to inspect the captured images with the metal springs. The deep learning technology has two neural networks. The "local" network checks for small-scale defects such as scratches, cracks or dirt. The "global" network goes one step further and checks for logical defects such as bent or missing brackets. From the interference of the two networks, Global Context Anomaly Detection determines an anomaly score. This value is then compared with the anomaly threshold value defined in advance. If the Anomaly Score is above this threshold, the component is defective and must be rejected. After the inspection, each image can be reviewed in software’s frontend. Especially helpful: A heat map can be used to transparently trace which parts of the image triggered the anomaly detection.
Until now, the inspection process has been carried out using rule-based machine vision methods. However, one of the disadvantages of this was that all possible types of defects had to be extracted individually using "bad images". In contrast, "good images" of intact parts. Since these are very easy to acquire, it saves time and money.


